
Today’s recipe will be Royal Icing and how to torte a cake and decorate with it.
You may be wondering what ‘torting’ is – if you don’t already know; torting a cake is taking a layer of cake you have baked and slicing it into many layers.
 |
| Lemon Mini-cake with Royal icing |
This is a simple recipe and a simple easy way of torting a cake so that you can practice it at home.
Royal Icing Recipe
Ingredients:
* Icing Sugar – 2 cups
* Egg White – 2 pcs (med. egg)
* Juice of 1 lemon
* Light purple food color – 1 tspn
Directions:
1. Sift your icing sugar into a medium bowl and set aside. Squeeze your lemon for juice; sieve it and set it aside.
2. Separate an egg white and pour it into a large bowl. Beat the egg white until foamy white.
3. Add the lemon juice to the egg white mixture by pouring it on the side of the bowl; then sift half the sugar on top of the egg white and beat until well incorporated. Add the rest of the sugar and beat until well mixed as well.
 |
| Beating sugar into egg white mixture |
4. Beat the mixture until it’s foamy, this can take as long as 10 minutes.
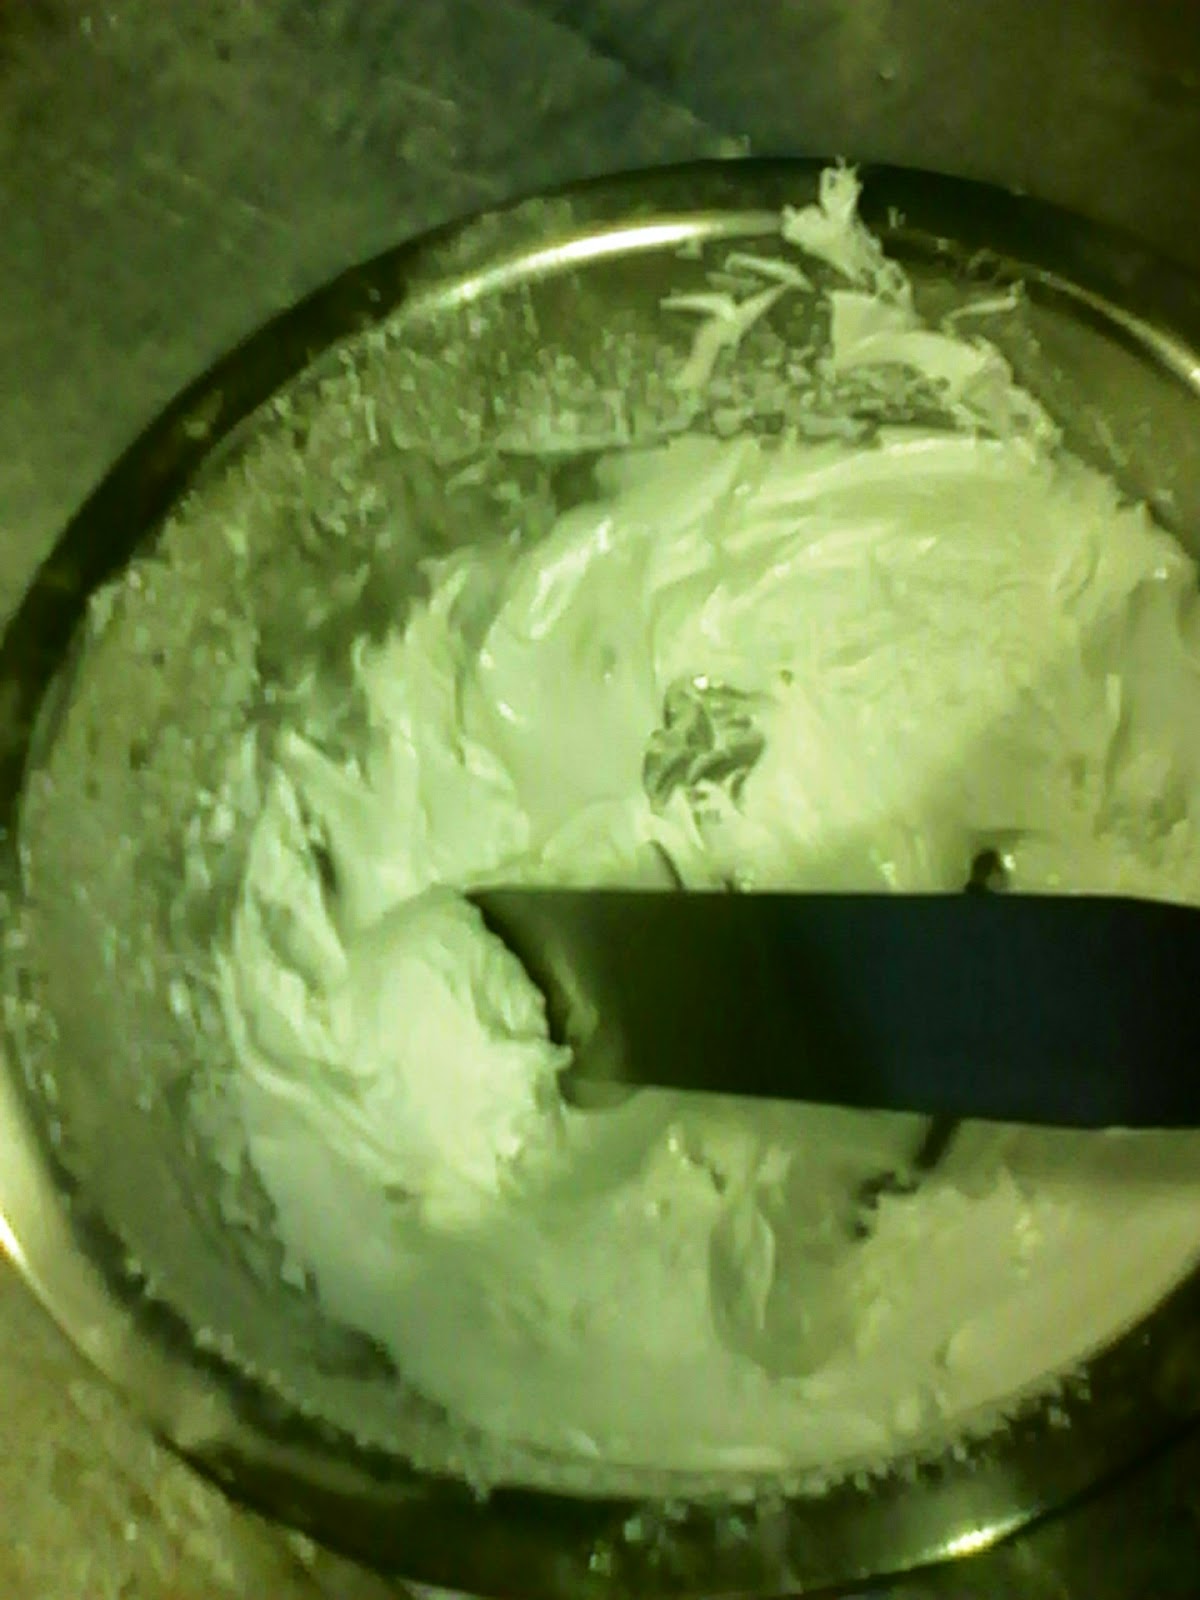 |
| Royal Icing ready to use |
Your frosting is ready.
Torting and frosting the Cake
Directions:
1. Take your cooled lemon mini cake and set it on a board. Level it with a bread knife; until it is flat on top.
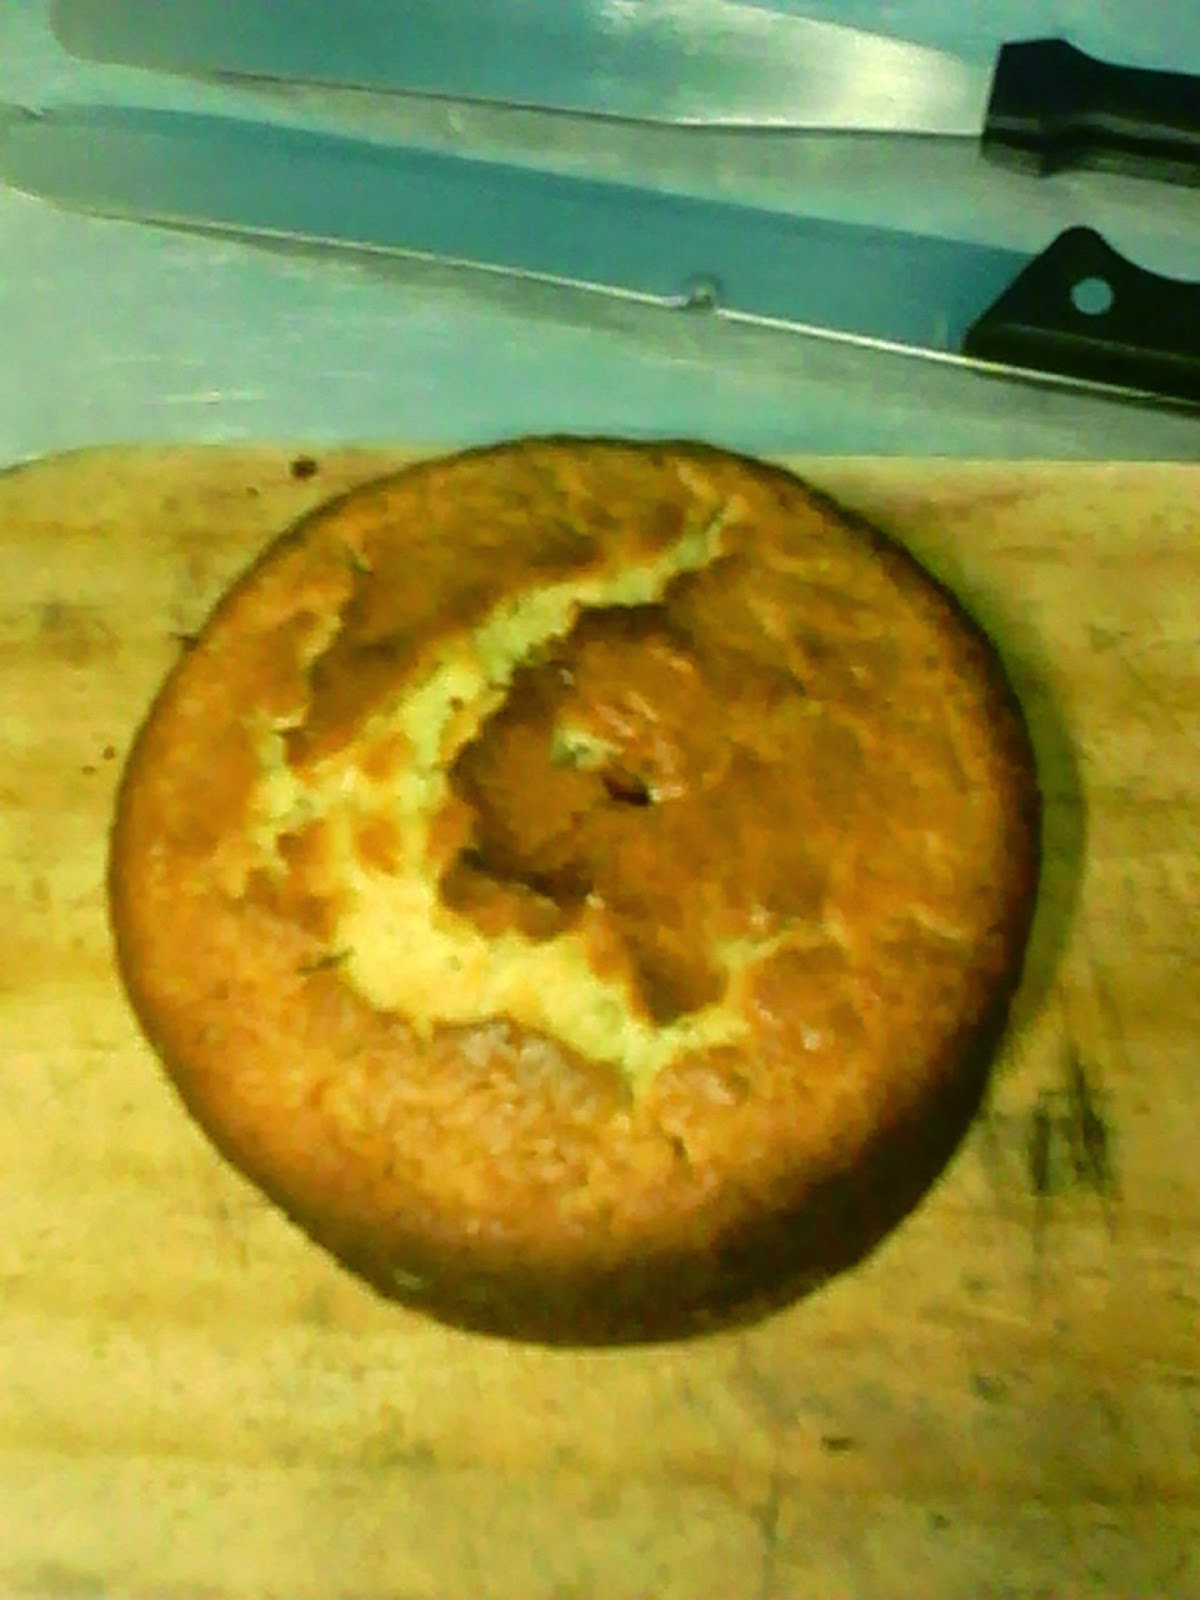 |
| Lemon Mini-cake |
 |
| Leveling the Mini-cake |
2. Slice the cake from the middle once, make sure you slice it as straight as you can manage. Then place the top slice of the cake onto a flat surface like a cake board or a plate; making sure the top of the cake is on the bottom of the plate. Set on a flat surface ready to begin frost.
 |
| Torte the cake once |
3. Scoop some royal icing with an icing spatula and apply onto the surface of the first slice of cake. Spread the icing well until it’s at the edge of the cake.
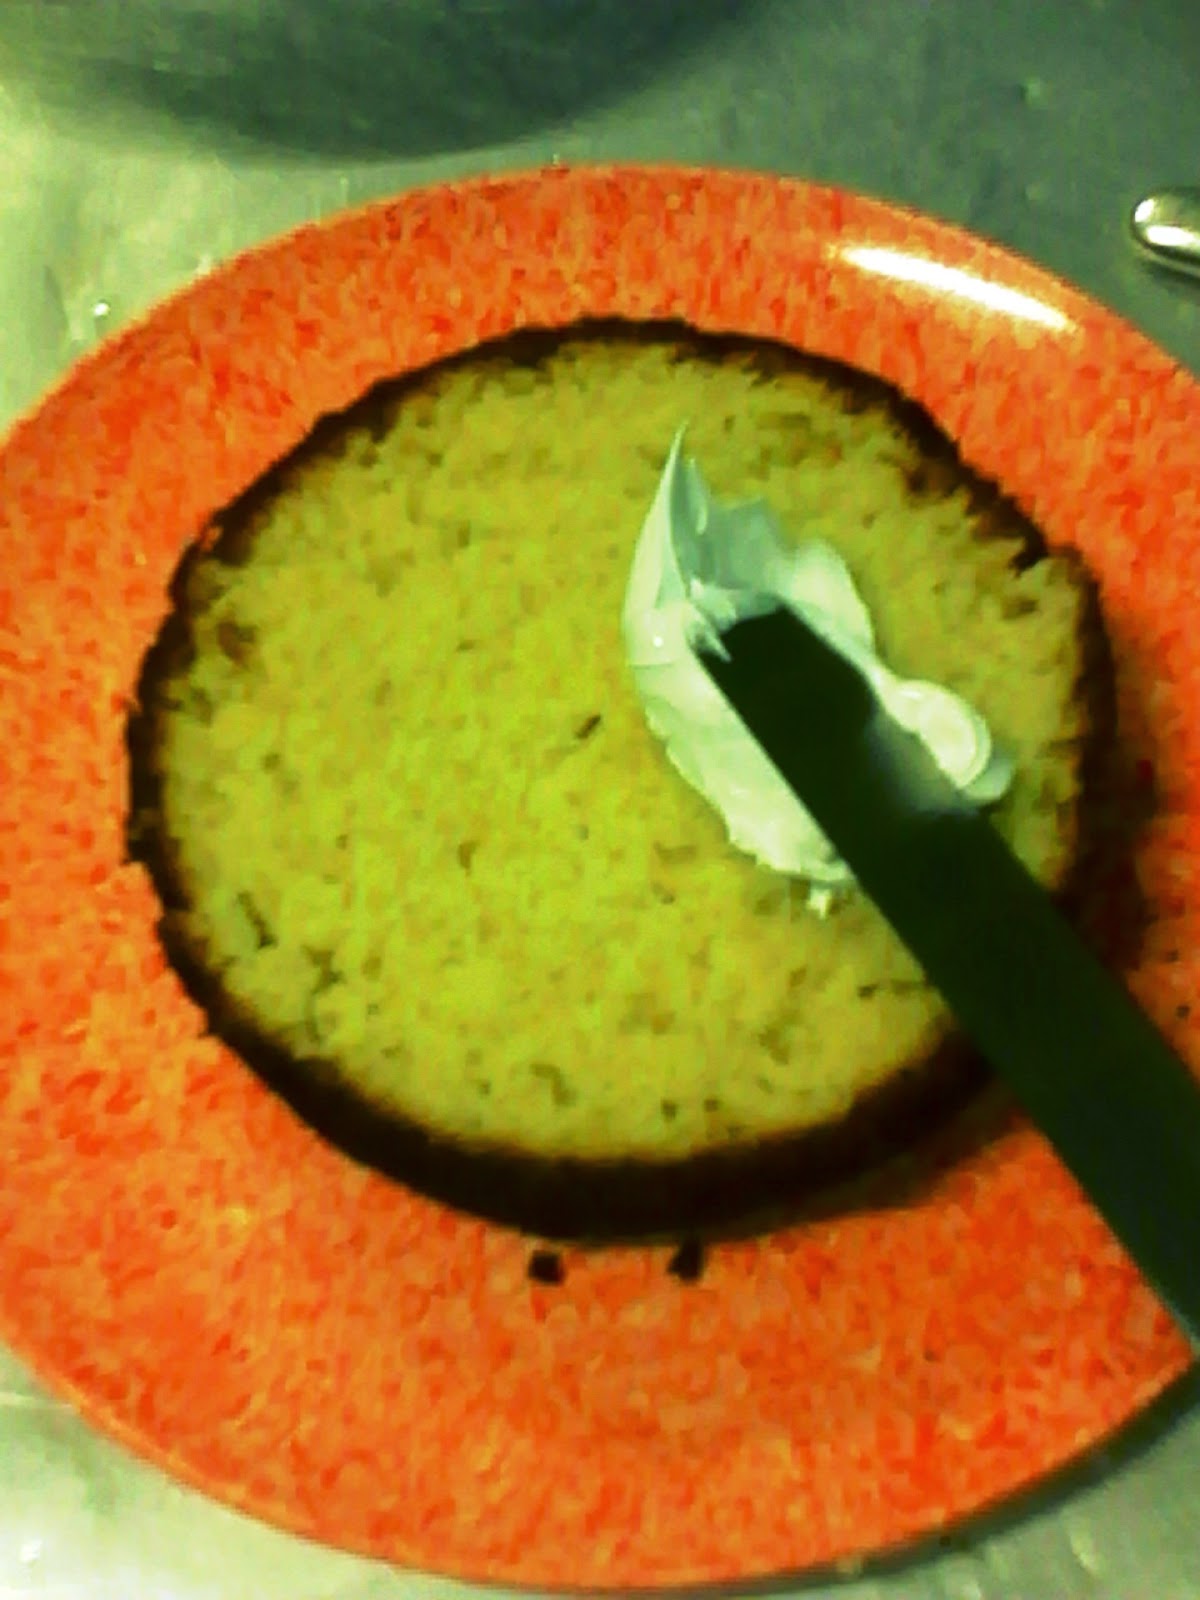 |
| Spread icing onto the first layer |
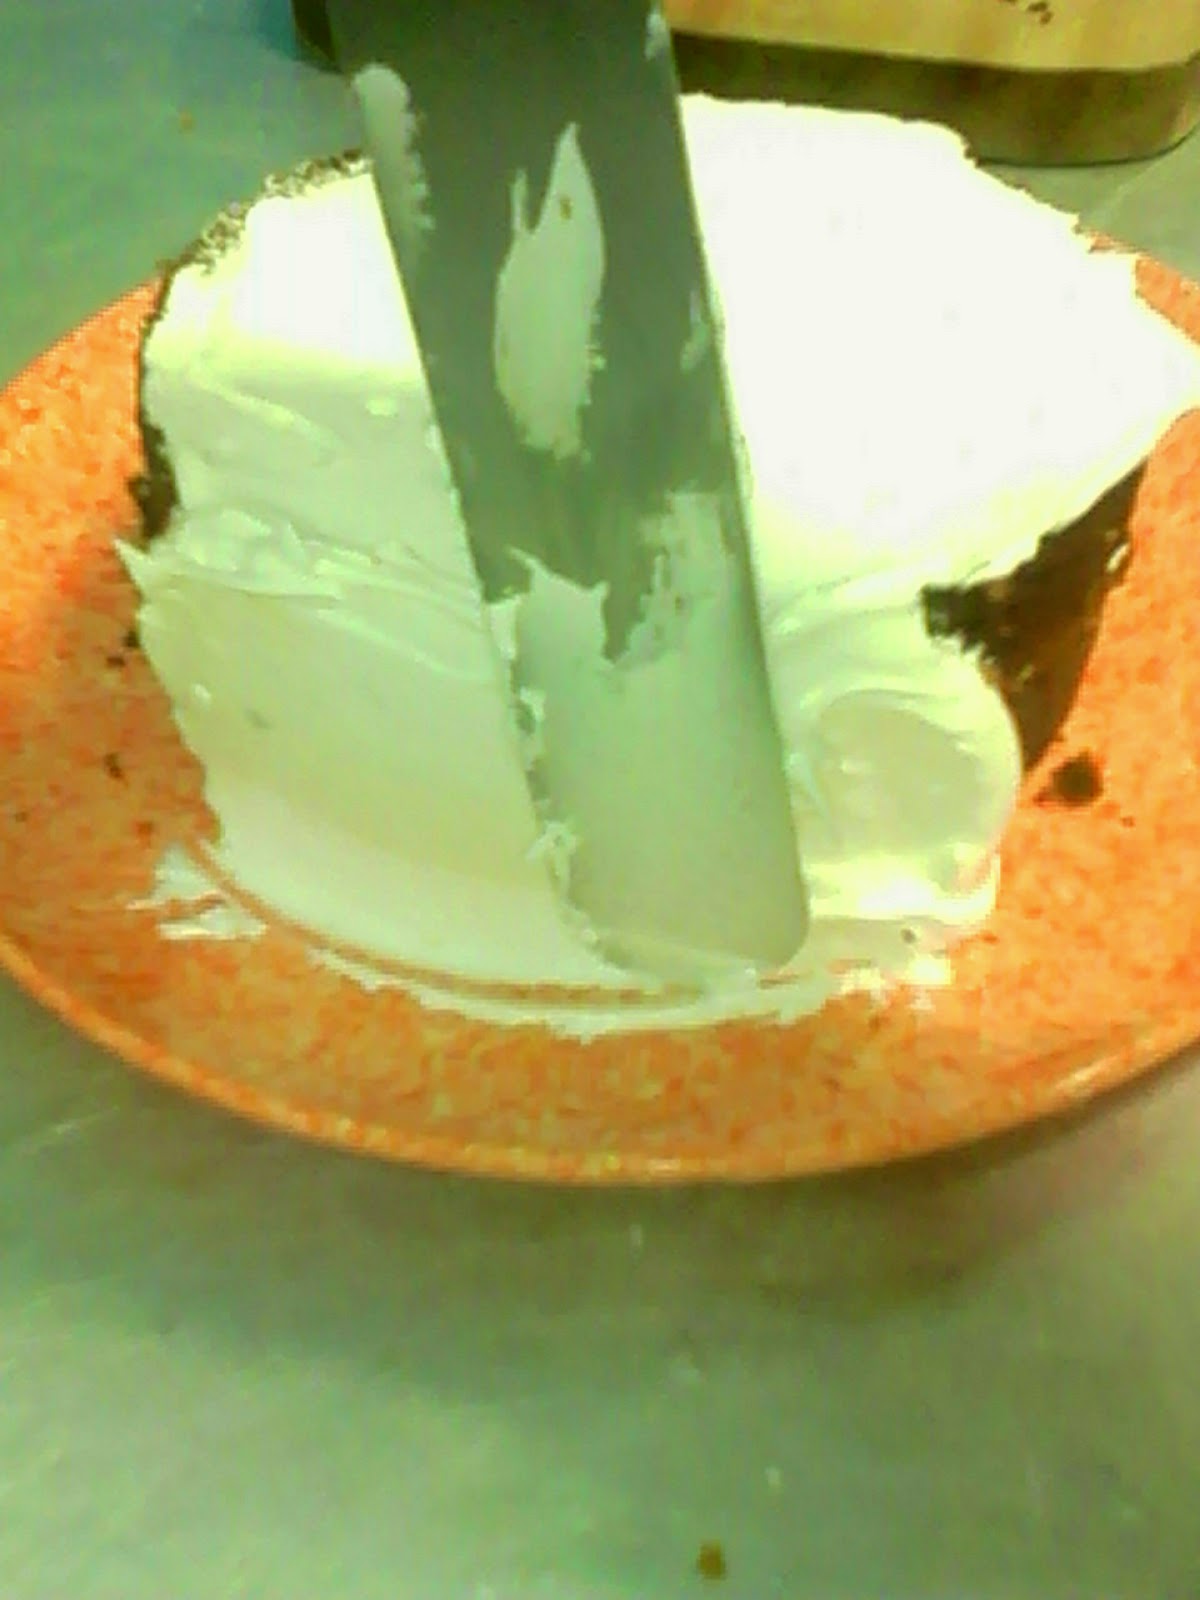
4. Place the second slice of the cake on top of the icing upside down, the bottom of the cake of the second slice will be on the top. Start frosting the cake by spreading the icing on the top of the cake and ensuring it has a smooth finish.
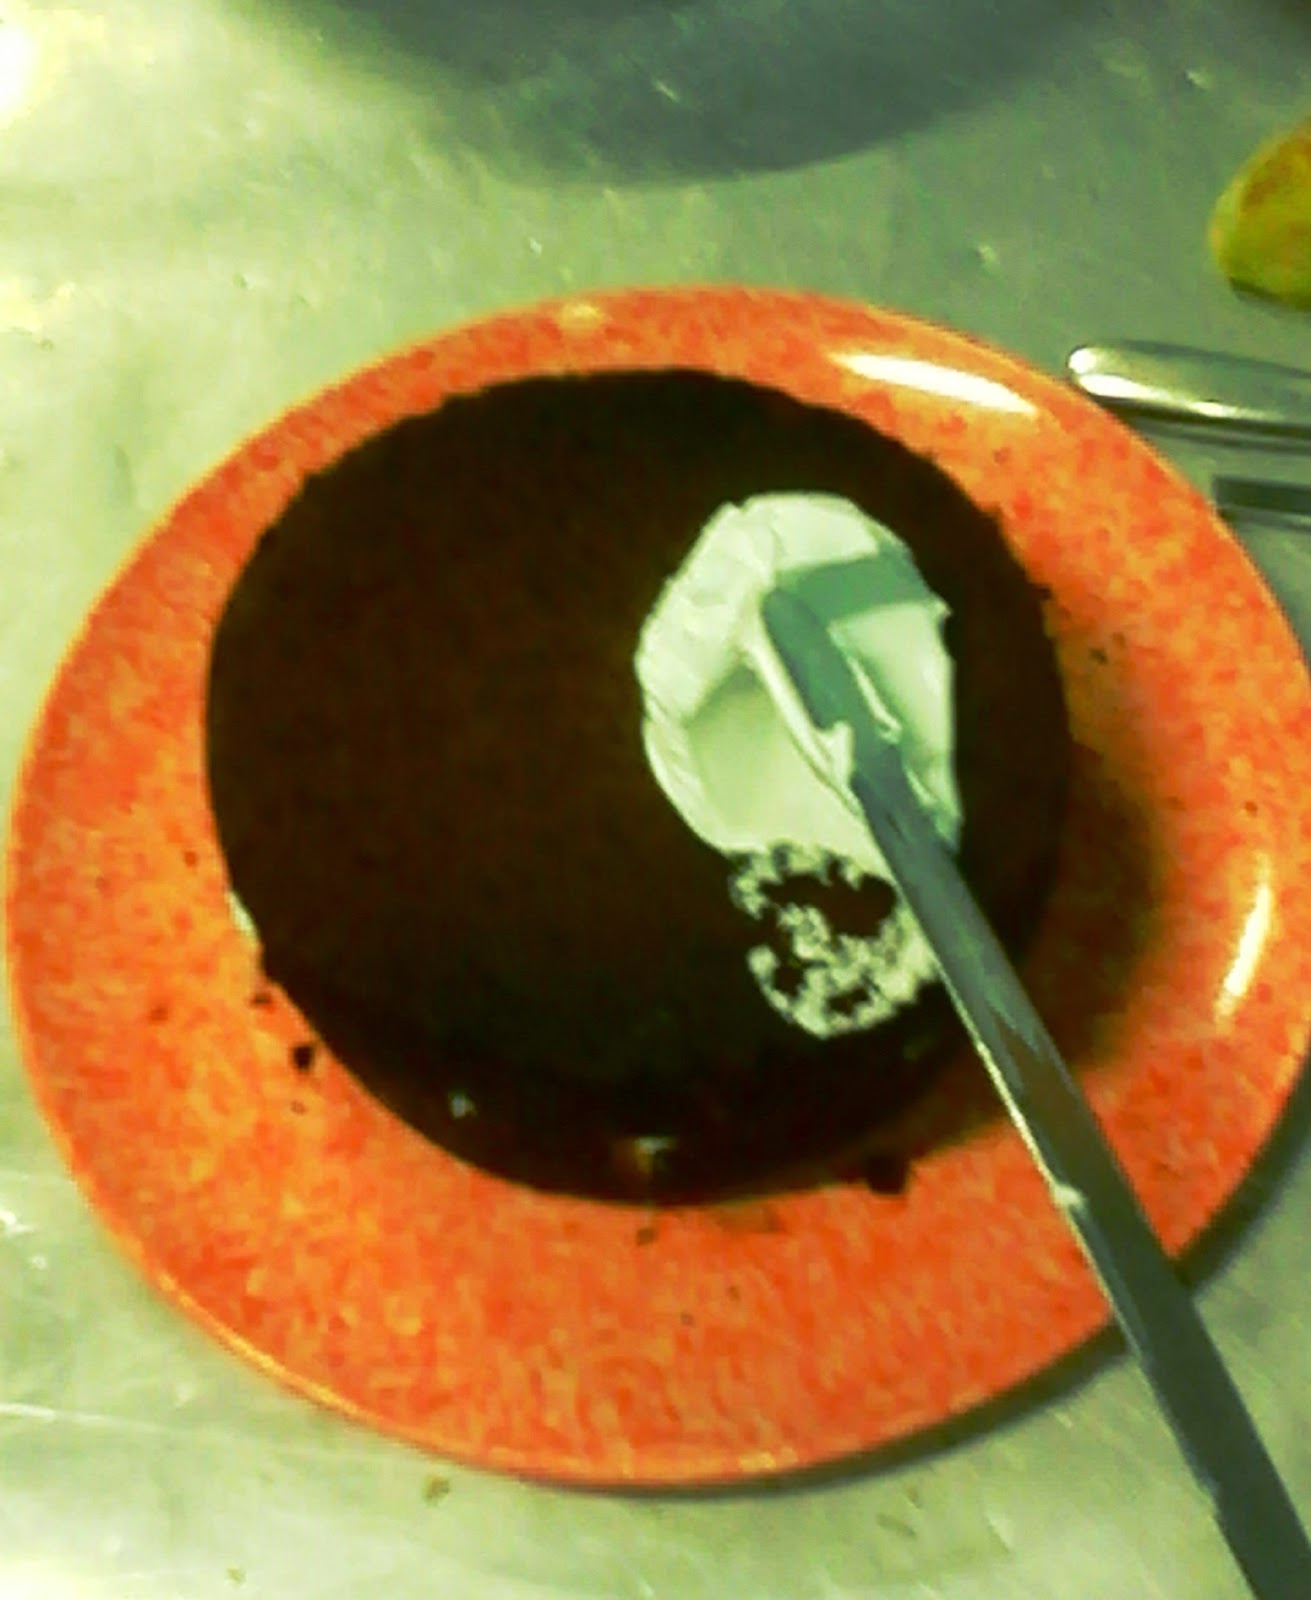 |
| Spread frosting on the top |
5. Add frosting to the sides of the cake and spread around the sides as well and make sure it has a smooth finish.
 |
| Frost the side of the mini-cake |
6. Once you have frosted the mini cake; set aside and add the light purple food color into the remainder of the icing. Ensure the colored royal icing is slightly runny (flooding consistency). Drizzle the purple royal icing slowly and carefully on the sides of your mini cake so that it drizzle to the sides of the cake.
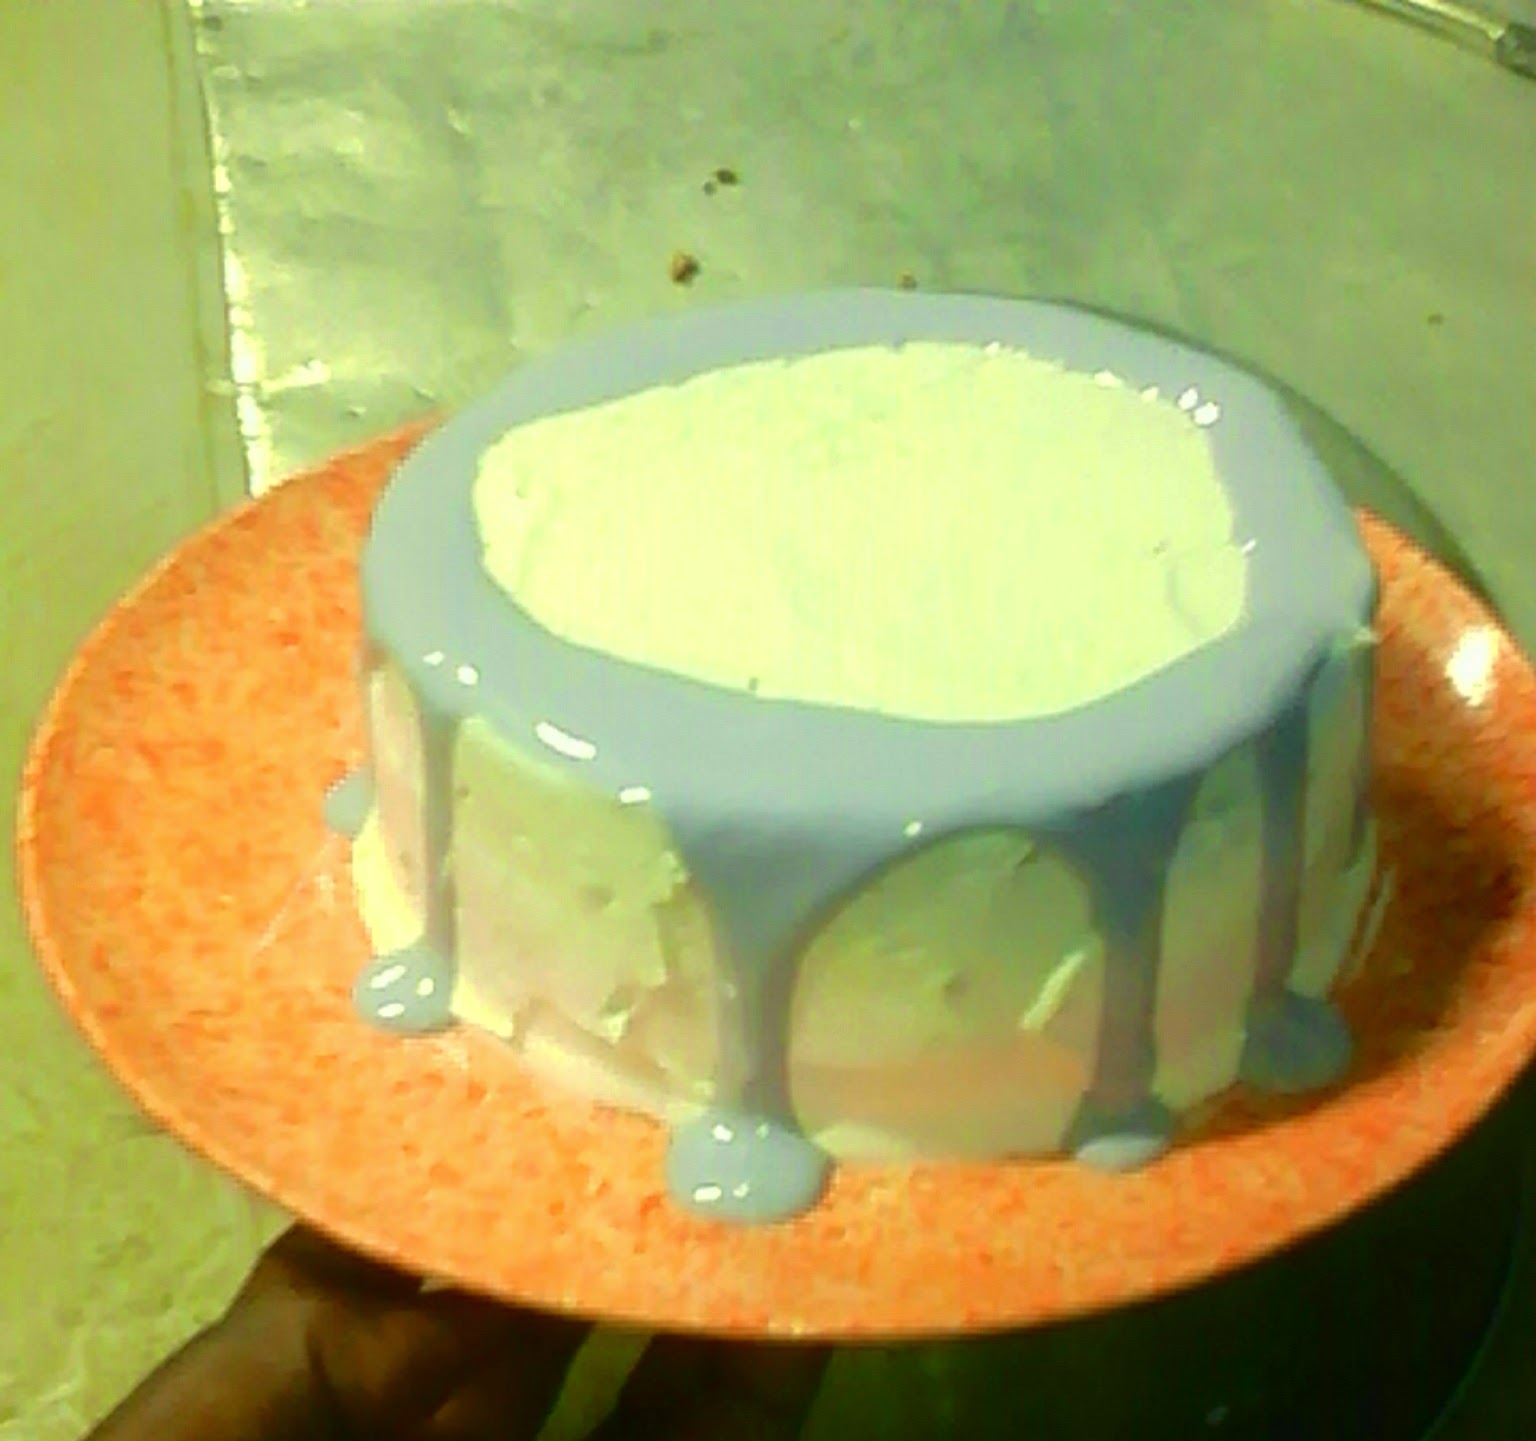
7. For a nice finish, you can add some sugar sprinkles onto the top of the cake for some color.
 |
| Add some sprinkles and your cake is ready! |
Your cake is ready to eat ^_^ – enjoy!
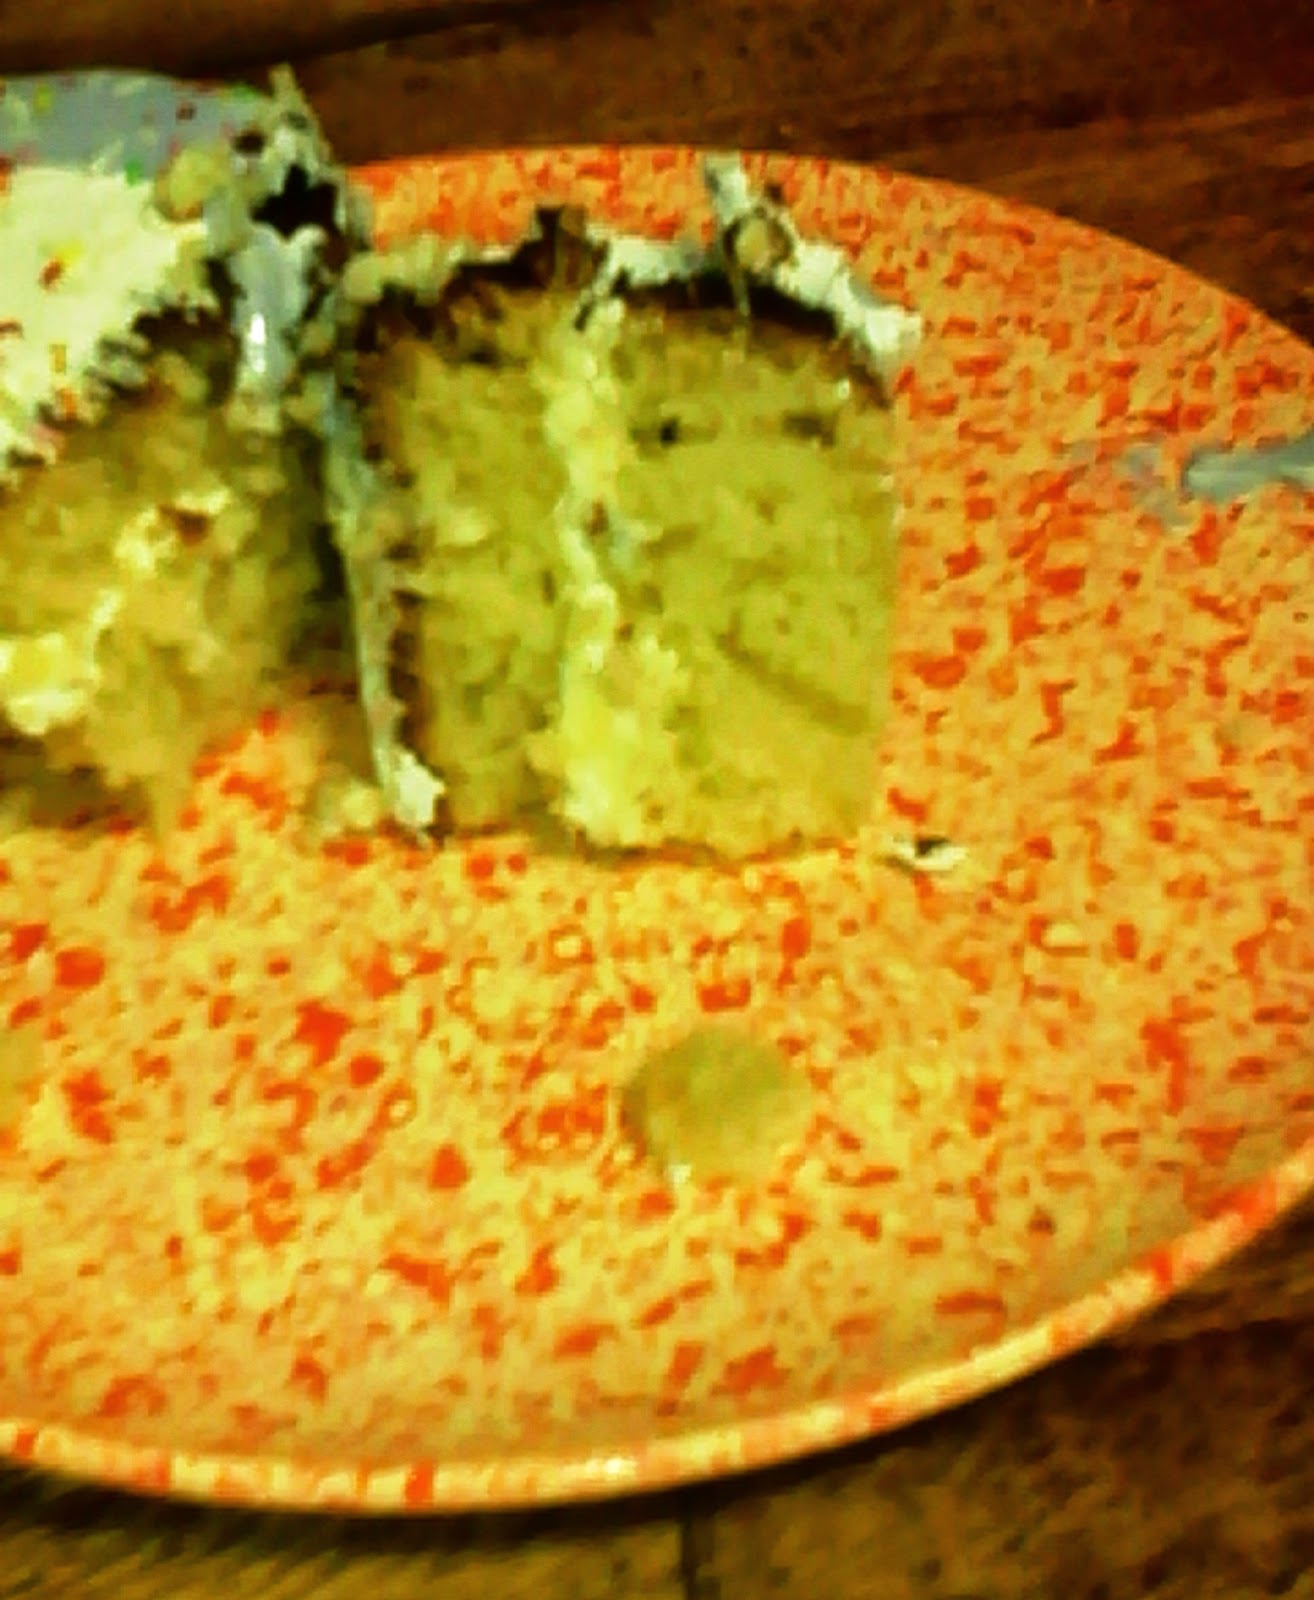 |
| Delish lemon cake |
*Royal icing has a tendency to dry up fast, make sure you work fast while frosting the cake so that it doesn’t dry up while you’re still smoothing the top or sides.
We offer a Basic Cake Decoration Course if you would like to learn how to frost cake with different kinds of frostings. For more details; visit our Baking Classes page
You can also email at: amaribreads@gmail.com or Call/Text/WhatsApp: 0701796688

One thought on “7 Easy Steps to Torte and Decorate a Mini-Cake with Royal Icing”