
If you’re not very seasoned in the bread-making process.
Here are a few tips that will help you if you’re just a beginner bread maker.
1. Be Well Prepared
Make sure you read your recipe twice before starting the baking process so as to understand the instructions well and to make sure you have all the required ingredients and baking equipment.
2. Have Enough Time
Unlike baking quick breads, the bread-making process takes more time; it could take 3 – 6 hours for the whole process to be completed. In bread making, once the dough is mixed it goes through the ‘rising’ process twice – this is called 1st & 2nd proof.

3. How to make a make-shift proofer
In the first proof, after the mixing of the dough, you grease the dough to ensure its softness, cover it and leave it to rise and double in size. In the 2nd proof, the dough is kneaded and shaped into scones on baking sheets or loaf pans, the baked products are left to rise the second time. If you’re baking at home, you can proof your dough in a warm area and they will rise. However, to speed up the proofing time, you can make a make-shift proofer. A proofer is a machine that uses steam to create a humid temperature that is preferred for yeast products to rise to a perfect size in a short period.
Commercial bakeries use proofers to bake their breads and scones.
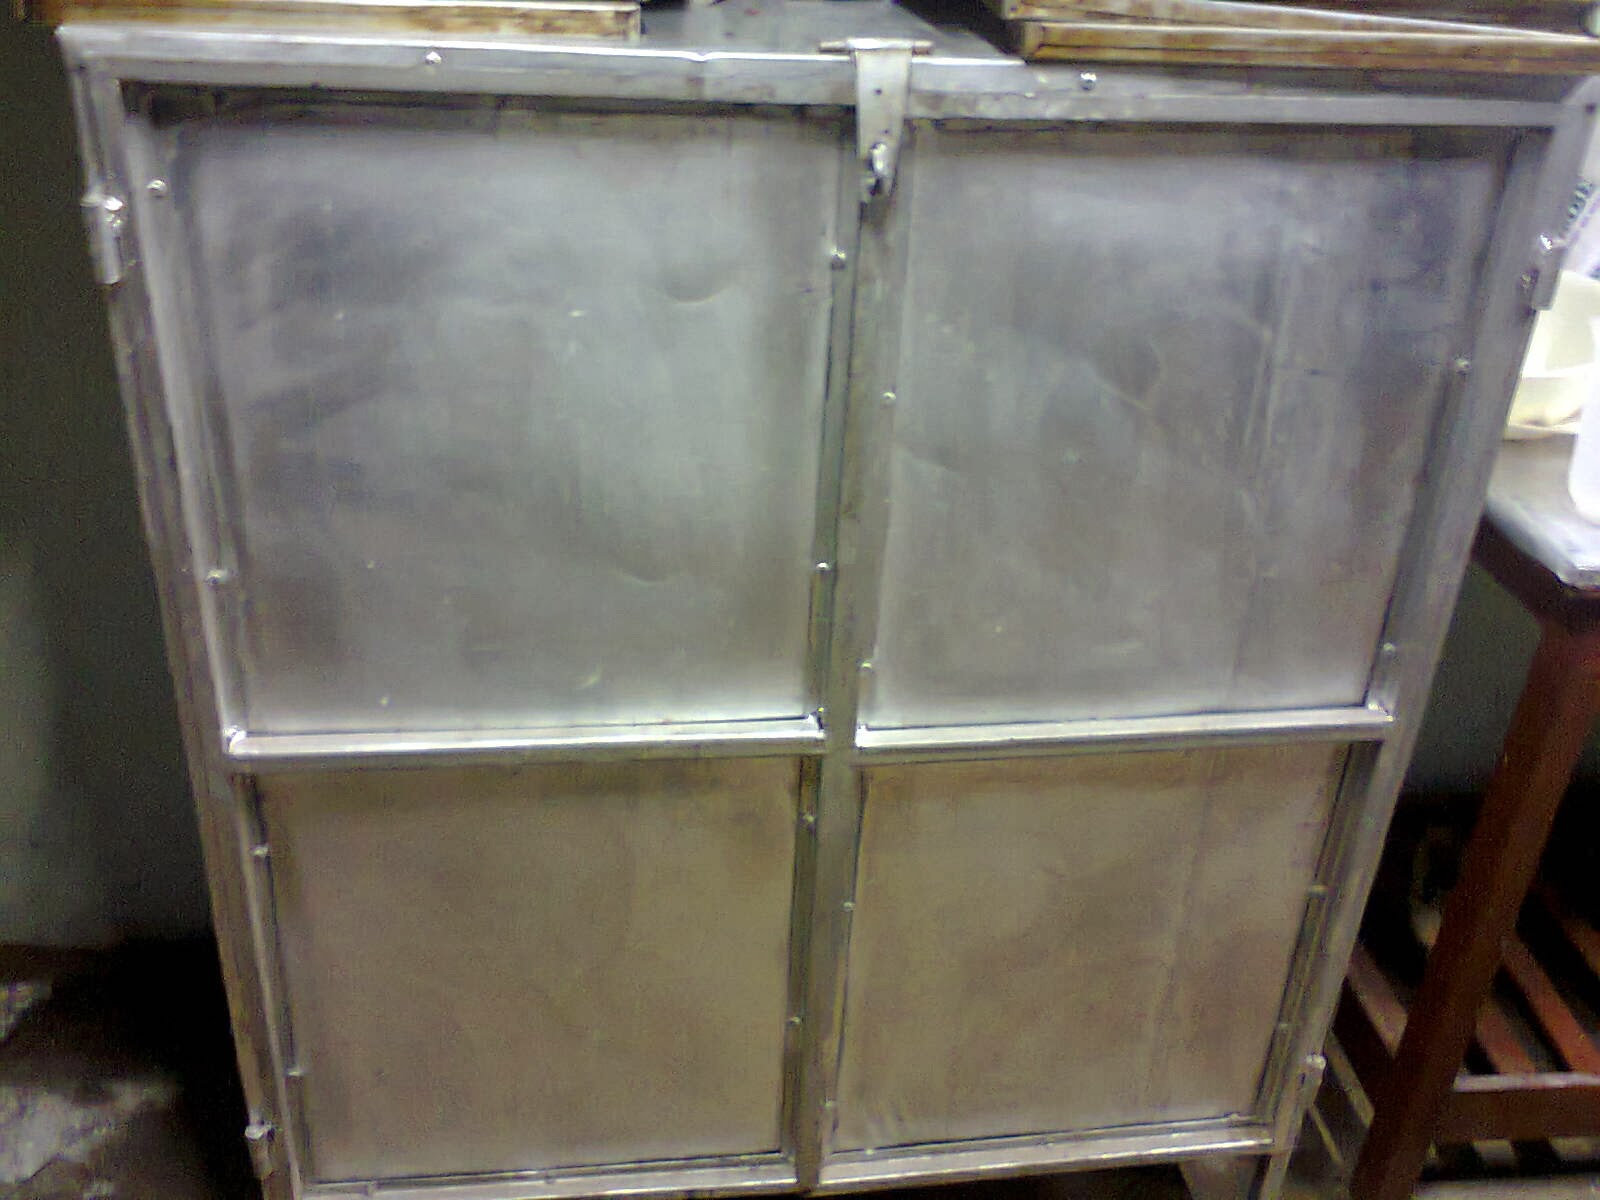 |
| Commercial Proofer Box |
However, for the home-baker, you can just take a bowl of steaming water and place it in your oven (leave it off). Place the bowl in a lower rack and place the bowl of dough on a higher rack. This creates a kind of proofer. You can also preheat your oven (if it is an electric or gas oven), then switch it off. Place the dough in the middle rack and leave the oven door open.
4. Keep the dough soft on the first proof
To ensure you have a perfect end product, it is imperative to make sure your dough during the 1st proof remains soft. After mixing the dough and shaping it into a ball, grease it around with cooking oil and then cover the bowl with a damp towel. This will ensure the dough remains soft while rising and does not form a dry crust on top.
5. Be Careful with the dough on the second proof
On the second proof, when the dough is shaped into pans or as scones; be very careful. Do not move them too much while in the proofer because they may deflate. When they have risen to their preferred size; move them carefully into the preheated oven for baking.
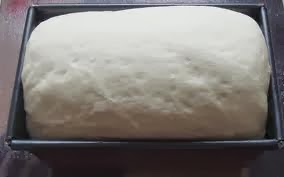 |
| Be careful so your loaf doesn’t deflate |
Enjoy baking your bread products and if you have any other tips you’d love to add, please feel free to comment.
Happy Baking ^_^!
To learn how to bake with breads, book our Bread making & Pastries Baking class and learn how to bake with a charcoal oven.
For more info: e-mail us: amaribreads@gmail.com or Call/Text/WhatsApp: 0701796688
and start learning today.

2 thoughts on “5 Tips to Help a beginner Bread baker”