I decided to share this recipe that was baked during the Easter season. Haven’t been baking much; a bit of traveling and book writing – but I’m working on a sort of blog and book balance (I Promise ^_^)
This was a hit with the family; especially my adorable cake-loving niece, so I bet with that seal of approval – you’ll definitely love baking and eating it!
 |
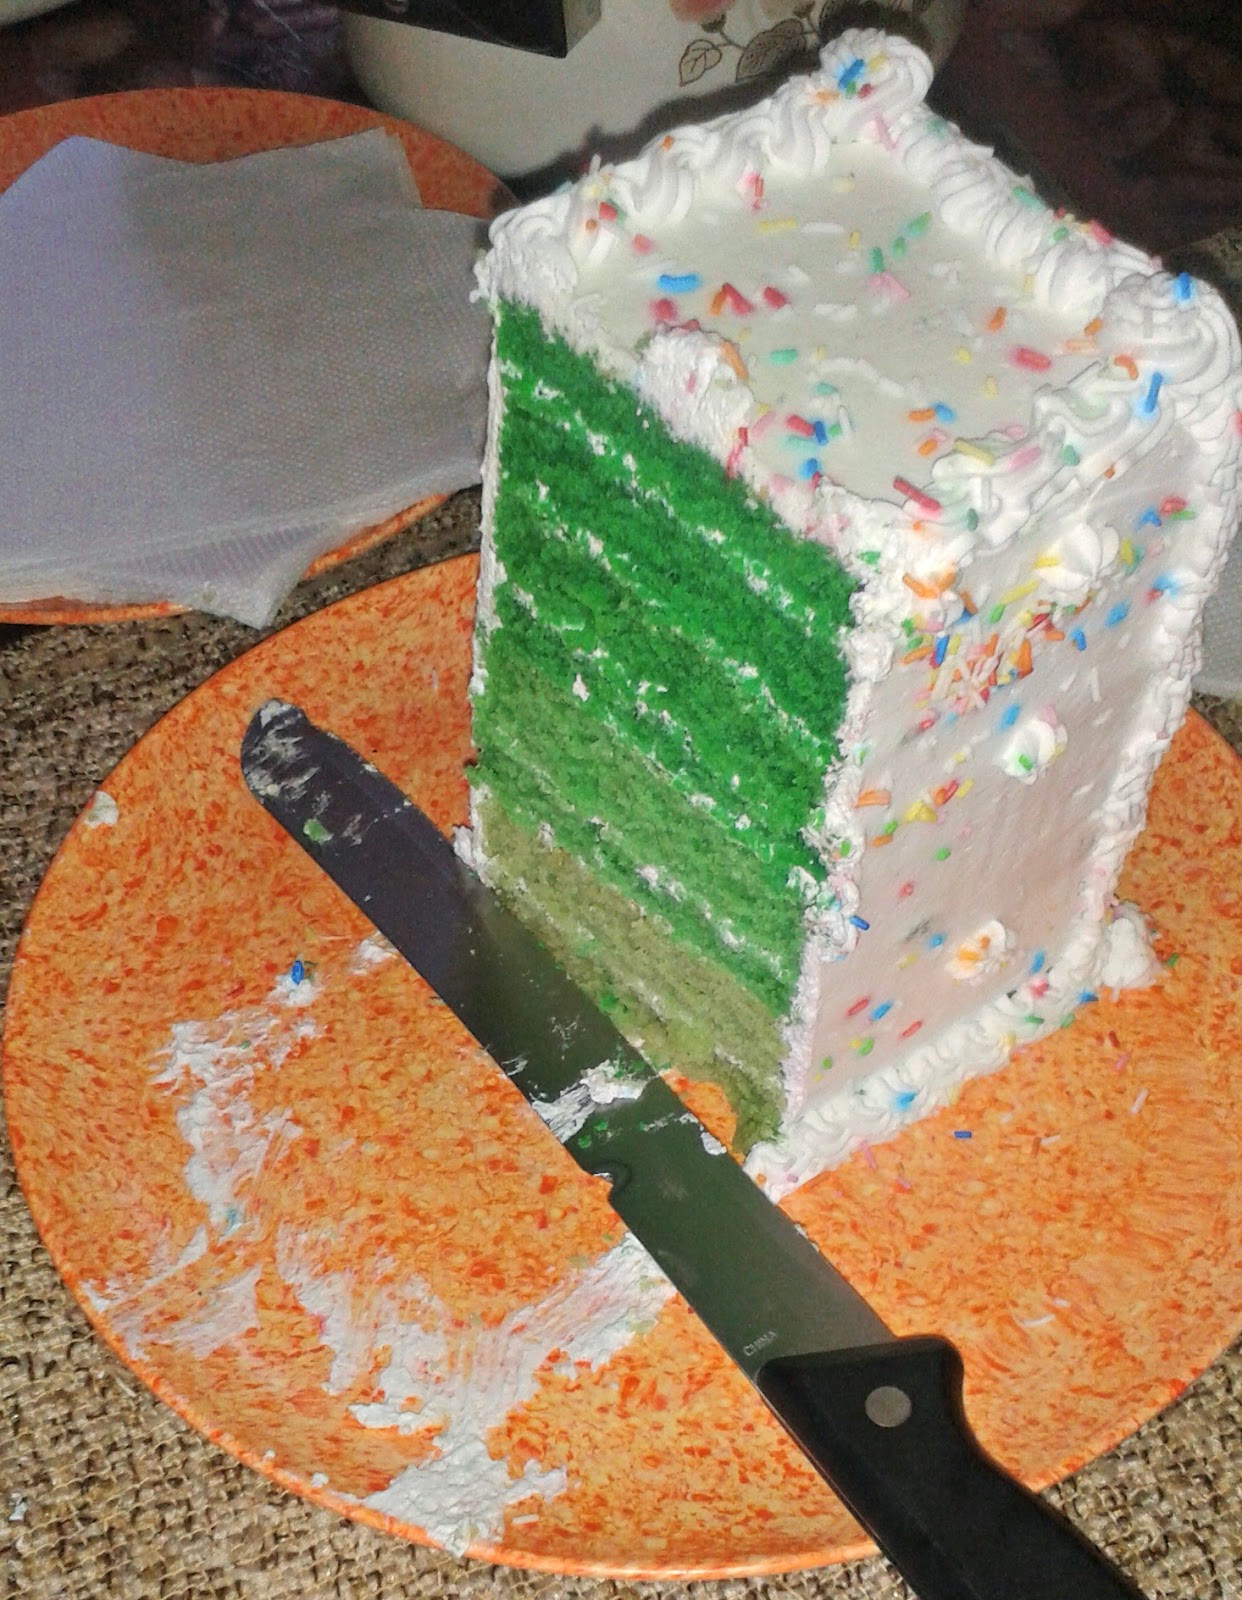
| Green Ombre Cake – delish! |
Green Ombre Cake Recipe
* Bake the below recipe four times; in four half loaf containers;
the only difference will be in the food color (as stated below).
Ingredients:
- All-Purpose Flour – 1 cup
- Baking Powder – 1 tspn
- Sugar – 1/3 cup
- Butter/Margarine – 1/3 cup
- Vanilla Essence – 1/2 tspn
- Egg (medium) – 1 pce
- Milk – 1/2 cup
- Liquid Food Color – Green (Brand used in this recipe is Moirs-great color with no bitter taste): For each loaf cake a different quantity used i.e. = 1/8 tspn, 1/4 tspn, 1/2 tspn & 3/4 tspn.
- If using unsalted butter instead of margarine; add 1/8 tspn of salt to your recipe.
Directions:
1. Pre-heat oven to 180 degrees Celsius or 350 degrees Fahrenheit. Grease and flour four half loaf pans and set them aside.
2. In a medium bowl, measure and sift the dry ingredients (flour, baking powder & salt if you’re using butter); set aside.
3. In a large, deep bowl; cream the sugar and fat with an electric mixer until white for about 3 to 5 minutes. You can also use a balloon whisk to cream the sugar and fat until white.
4. In a small bowl; beat your egg with a fork until bubbles form. Measure the food color and vanilla into the creamed mixture; mix for about half a minute. Then add the egg and beat until well incorporated; for about one minute, don’t over beat.
5. Using a spatula; fold half the dry ingredients into the wet mixture gently until well incorporated. Add the remaining gradually with the milk until the batter is a drop texture. Pour your batter into your loaf pan ready to bake.
6. Place your pan onto a baking sheet and place into the oven. Bake for about 25 to 35 minutes; or until toothpick, skewer or clean bread knife comes out clean and clear. Remove pan from oven and let cool for about 20 to 30 minutes; then remove the cake from the pan and place it on a cooling rack or tray to cool completely.
* When mixing, I would advise starting with the loaf cake with the least amount of color as you add gradually; this will give the cake the perfect ‘ombre’ effect – different shades of the green color.
 |
| Baking the cakes in our Cookswell Charcoal Oven ^_^ |
7. When your cake is completely cool; it’s ready to frost. For this recipe; I just used the Puratos Whippak cream frosting; it’s very simple and easy to use, especially if you’re in a hurry. Just buy the 1L boxes and just pour about 2 cups of the pre-made non-dairy cream into a deep bowl; and beat with an electric mixer or balloon whisk – it turns into stiff and fluffy whipped cream. You can find it at Topserve Ltd for about 450/- for the liter box.
8. Take each of your cakes and level them on top using a bread knife; then torte each cake and spread the cream frosting in the middle with your icing spatula. On your plate, tray or cake board; start with the lightest cake on the bottom and slowly stack them on top of each other, darkest on top. Each cake layer gets a thin layer of cream frosting to hold the cakes together.
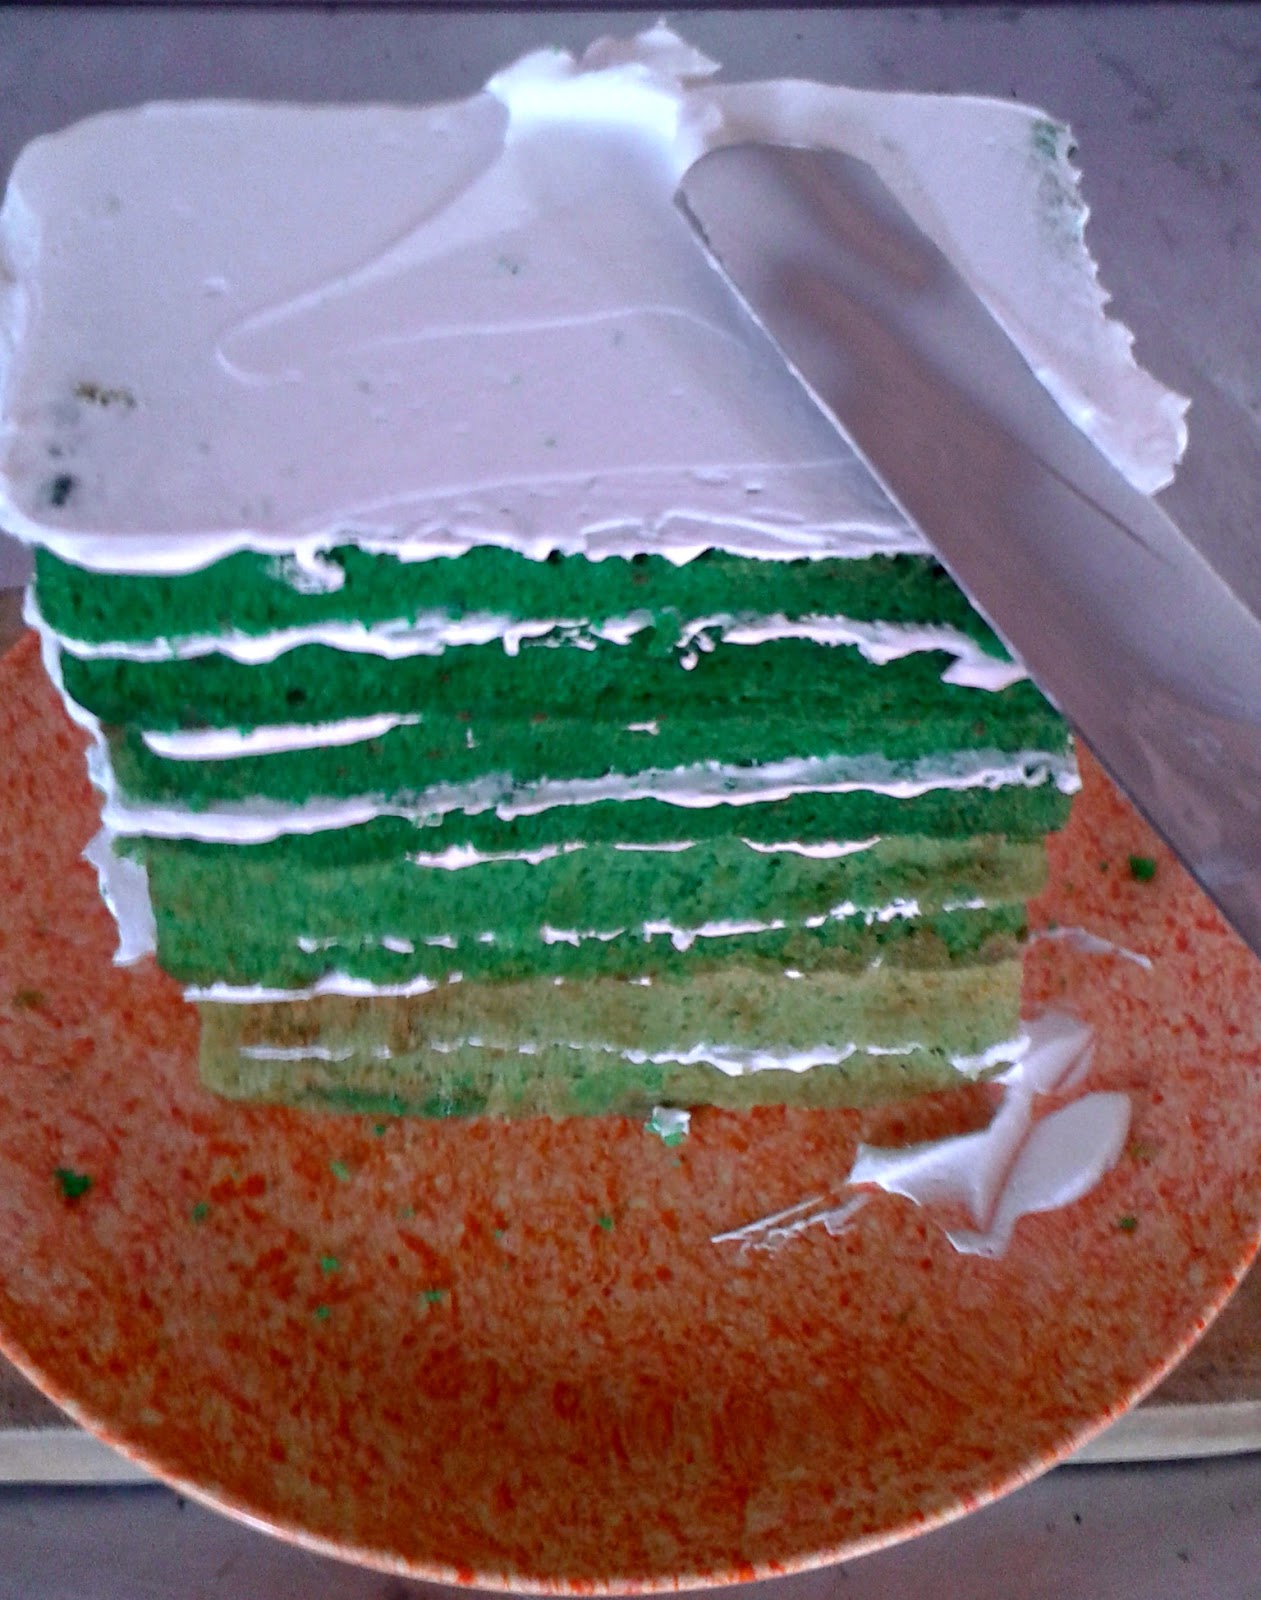 |
| Light green cake at bottom; dark green on top |
9. Frost the rest of the cake and decorate it as you like; I put some sugar sprinkles on mine for a colorful look. You’re cake is ready to eat!
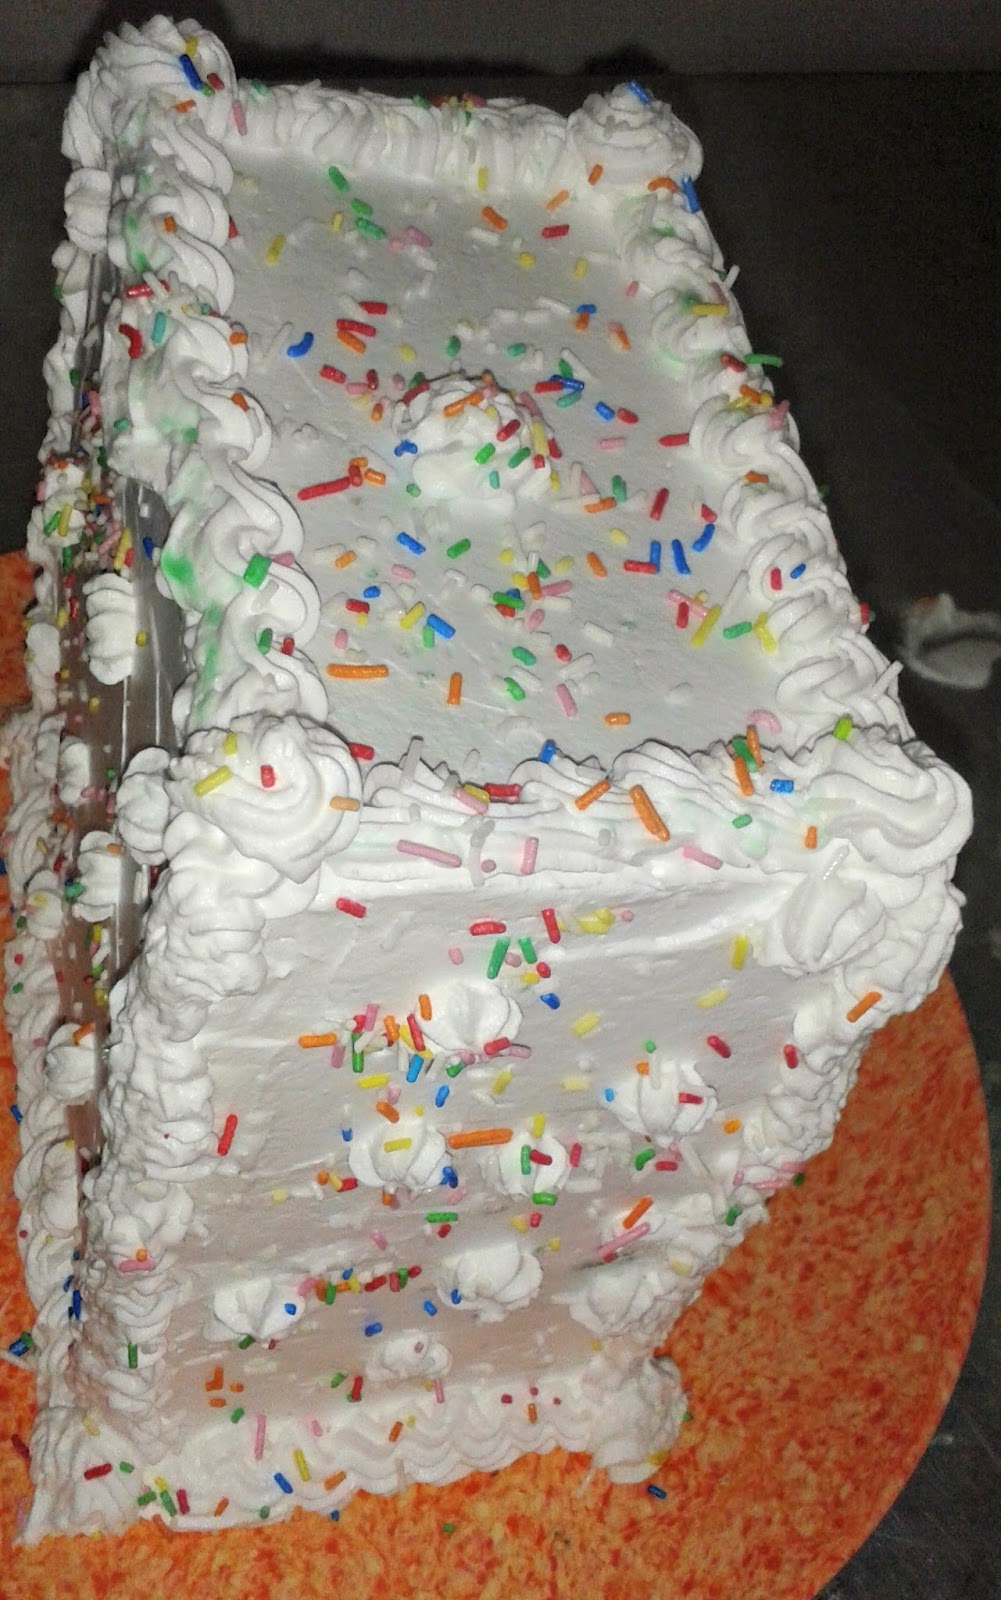 |
| Cake ready to eat. |
Enjoy!
 |
| Adorable niece enjoying the cake ^_^ (cuz it’s finger-licking good) |
If you would love to learn how to bake cakes and cupcakes and frost them like the one above; please visit the ‘Baking Classes’ Page for more information on the current intake.
Thanks for reading and if you do try out this recipe; please feel free to share your results.
Happy Baking ^_^!!
